Reupholster Your Chair: A Sustainable Guide to Professional Results
A worn or outdated chair doesn't have to become landfill. If the frame and structure are sound, reupholstery breathes new life into the piece while honoring the craftsmanship that built it. This is sustainability in action: extending an object's lifespan rather than replacing it entirely. Plus, a freshly upholstered chair becomes a custom, one-of-a-kind piece that reflects your personal style.
Whether you're refreshing a dining chair, an office seat, or a vintage find, this guide walks you through the process.
Assessment: Is Your Chair Worth Reupholstering?
Before you begin, evaluate the chair's structure.
Good Signs (Worth Reupholstering):
- Frame is solid wood or metal with no wobbling or cracks
- Springs (if present) still function and don't squeak excessively
- Legs are stable and not splintered or damaged
- Padding underneath might be compressed but isn't deteriorated to dust
Red Flags (May Not Be Worth the Effort):
- Frame has deep cracks or significant structural damage
- Legs are broken or irreparably damaged
- The chair wobbles dangerously regardless of reupholstery
- Padding has completely disintegrated into powder
Assess honestly. If the frame is compromised, reupholstering won't fix safety issues. But if the structure is good, even a chair with severely worn fabric is a perfect candidate.
Step 1: Document and Remove Old Upholstery
The old fabric becomes your pattern, so handle removal carefully.
What You'll Need:
- Staple remover or flat crowbar
- Hammer or small mallet
- Sharp utility knife (if no visible staples)
- Gloves to protect against splinters
- A workspace where scattered staples won't be a hazard
Removal Technique
Most furniture is held with staples. Locate the staples (usually along the underside or underframe of the seat). Using a flat-head tool (staple remover or thin crowbar):
- Position the tool's edge under a staple
- Tap gently with a hammer to loosen it
- Pry upward slightly to expose the staple
- Tap again and continue working it free
- Remove completely and set aside safely
If the fabric is glued rather than stapled, use a utility knife to carefully cut it away, working slowly to avoid damaging the wood or foam underneath.
Important: Keep the old fabric intact. You'll use it as a template for cutting new fabric, which saves time and prevents measurement errors.
Step 2: Inspect and Prepare the Frame
Once the old fabric is gone, assess the condition underneath.
Check For:
- Padding condition: If the foam or padding is compacted, thin, or disintegrating, it's worth replacing. New padding improves comfort and appearance significantly.
- Wood condition: Look for damage, splintering or areas needing repair
- Springs (if applicable): Listen for squeaks, feel for loose springs. Minor adjustments might be needed.
Minor Repairs:
- Sand rough areas of exposed wood lightly
- Tighten any loose joints with appropriate wood glue and clamps
- Replace severely damaged padding (optional but recommended)
Don't overengineer this. The goal is a solid, safe surface to staple new fabric to.
Step 3: Choose Your Reupholstery Fabric
Upholstery fabric faces demands that regular apparel fabric doesn't. Durability is non-negotiable.
Weight and Construction
Heavyweight Woven Fabrics (Best Choice)
Cotton Canvas or Twill: 12–14 oz weight minimum. Tightly woven, durable, and forgiving. Cotton holds up beautifully to daily use, doesn't shift, and looks better with age and wear. Ideal for dining chairs, office seating, and casual living room furniture.
Upholstery Cotton: Densely woven 10–12 oz cotton specifically designed for furniture. Often treated for stain resistance. Comes in endless patterns and colors.
Linen or Linen Blends: 10+ oz. More elegant than cotton, slightly more delicate. Works well for formal or decorative furniture that gets moderate use. Can wrinkle slightly, which some find charming.
Heavyweight Polycotton Blend: Combines cotton durability with polyester's color-fastness and wrinkle resistance. A practical choice for high-traffic pieces.
Weight Matters
A 8 oz cotton is too light for regular furniture use. It will show wear quickly and may not hold staples as securely. Aim for 10 oz minimum, 12+ oz preferred.
Color and Pattern Considerations
- Solids wear better than patterns in high-traffic areas — pilling and fading show less
- Darker colors hide dirt and are more forgiving for kitchen or office chairs
- Small-scale patterns hide wear better than large patterns
- Natural fabrics (cotton, linen) age gracefully; wear often improves appearance rather than detracting from it
Sustainable Choices
If environmental impact matters to you:
- Choose organic cotton (lower pesticide footprint)
- Select recycled polyester blends
- Opt for fabrics made from sustainably harvested wood (lyocell, viscose eco)
- Choose durable fabrics that will last years rather than needing replacement
A chair upholstered in quality sustainable fabric outlasts multiple chairs in cheap conventional fabric — the true measure of sustainability.
Step 4: Calculate Yardage and Cut New Fabric
This is where your saved old fabric becomes invaluable.
Using the Old Fabric as a Template:
- Lay out old fabric pieces on a large, flat surface
- Arrange them as they were positioned on the chair (some pieces go under, some wrap around, some overlap)
- Measure the arrangement and note which direction each piece runs
- Add 2–3 inches of extra fabric to each piece for overlap and stapling
For a standard dining chair seat, you typically need 1–1.5 yards. For a chair with a back, add another 1–2 yards. For an armchair, 2–3 yards is common.
Cutting New Fabric:
- Wash new fabric first if it's 100% natural fiber (cotton shrinks slightly)
- Let it dry and press to remove wrinkles
- Cut pieces following your old fabric pattern, adding overlap allowance
- Mark grain direction with pins or tailor's chalk to ensure consistency
Step 5: Upholster the Chair
This is where patience and precision matter.
Supplies Needed:
- Upholstery tacker (electric or hand-powered staple gun)
- Staples (3/8 inch for most fabrics)
- Hammer or mallet (for hand tacker)
- Scissors or utility knife
- Optional: upholstery thread, curved needle for hand-finishing
Basic Technique
-
Start with the center: Position the fabric piece and staple the center of each side first (not all four corners). This prevents bunching.
-
Work outward: Alternate between opposite sides, working from center toward corners. Maintain even tension — pull the fabric taut but not so tight you distort it.
-
Smooth as you go: Before each staple, smooth the fabric to remove wrinkles and ensure it sits evenly.
-
Corners: At corners, fold fabric neatly. There are several techniques (hospital corners, pleats, mitered corners). Choose whichever looks cleanest to you.
-
Overlap: Where two fabric pieces meet, overlap slightly and staple securely. These overlaps shouldn't show on the visible side if you're careful.
-
Trim excess: After stapling, trim excess fabric from the underside to reduce bulk and improve appearance.
Step 6: Finishing Touches
Professional upholstery often includes finished edges and decorative elements.
Decorative Trim (Optional):
- Upholstery cord or gimp (narrow trim) covers staples and creates a refined look
- Attach with upholstery glue or hand-stitching
- Choose a color that complements your fabric
Hand-Stitched Edges: Some upholsterers hand-stitch visible seams for a completely finished appearance. This is optional but adds polish.
Bottom Dust Cover: If the underside was originally covered with muslin or cambric, you can reattach it or leave it open (depending on the chair's design and visibility).
Office Chair Refresh
Office chairs are particularly satisfying to reupholster because they're used daily and often need updating. Most office seating has removable or easy-access fabric:
- Cushion covers: Often zippered or glued on — can usually be removed without tools
- Backrest upholstery: May be separately attached
- Armrests: Often removable or have replaceable covers
Coordinate with colleagues for a group reupholstery project — it's efficient, fun, and creates shared investment in the office aesthetic.
Potential Challenges and Solutions
Puckering or Wrinkles
Caused by uneven tension. Remove staples in the affected area, smooth the fabric, and re-staple more evenly.
Staples Won't Hold
Check that your tacker is working properly and that you're using the correct staple size for your fabric weight. Thicker fabrics need slightly larger staples.
Fabric Tears During Stapling
If your fabric is delicate, consider gluing instead of stapling, or use a wider staple base that distributes pressure.
Difficult Shape (Curved Back, Arms, etc.)
Take extra time with measurement. Curved areas require more fabric and careful manipulation. Cut slightly larger pieces and trim after stapling.
Padding Visible Through New Fabric
If your old padding was thin or deteriorated, consider adding a new layer. Quilt batting or upholstery padding ($10–30) dramatically improves the result.
Sustainability and Satisfaction
Reupholstering one chair uses significantly less material, produces less waste, and preserves an existing object than buying a new one. If you use sustainable fabric (organic cotton, recycled blends, responsibly sourced linen), the environmental benefit multiplies.
Plus, there's genuine satisfaction in restoration. A chair you've reupholstered becomes personal — you understand its construction, appreciate its bones, and take pride in its refresh.
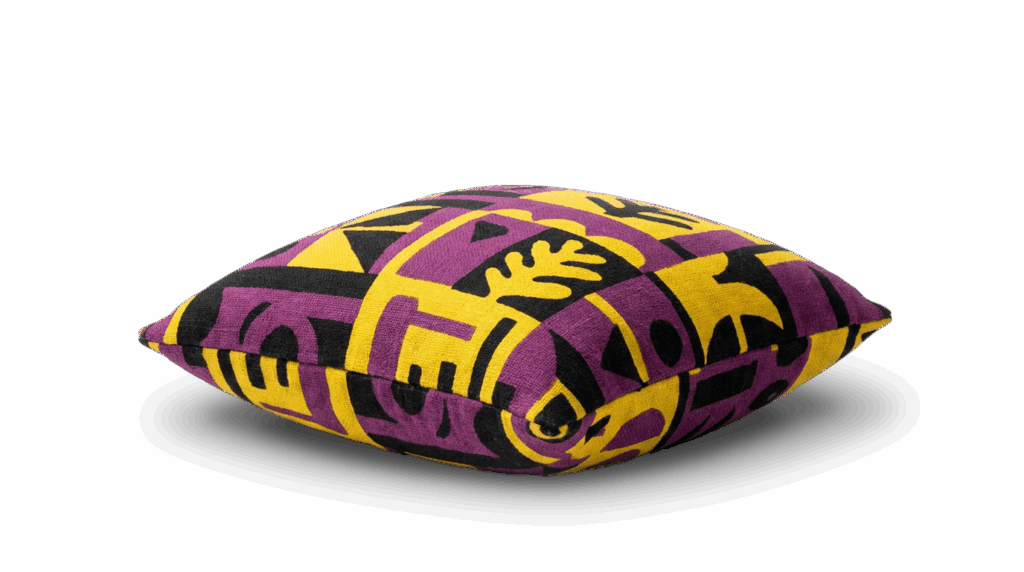
Design Inspiration: Custom Printed Upholstery
For truly unique results, consider having a custom design printed on your chosen fabric. A pattern, photograph, or artistic design upholstered onto a chair transforms it from functional to statement piece.
When commissioning custom prints for upholstery:
- Request pre-washed fabric (shrinkage is already accounted for)
- Ask for stain-resistant treatment if available
- Test durability with the printer — make sure inks are rated for furniture wear
Start Your Project
Begin with a chair you love but haven't used in years. The process is meditative, the results immediate and rewarding. As you gain confidence, tackle more complex pieces.
Your reupholstered chair will last another decade or more — a tangible act of sustainability in a throw-away culture.
Have questions about fabric selection for your upholstery project? [link to Vivix Prints contact page] — we can recommend durable fabrics, help you commission custom prints for truly unique chairs, and advise on fabric weight and durability for your specific piece.